
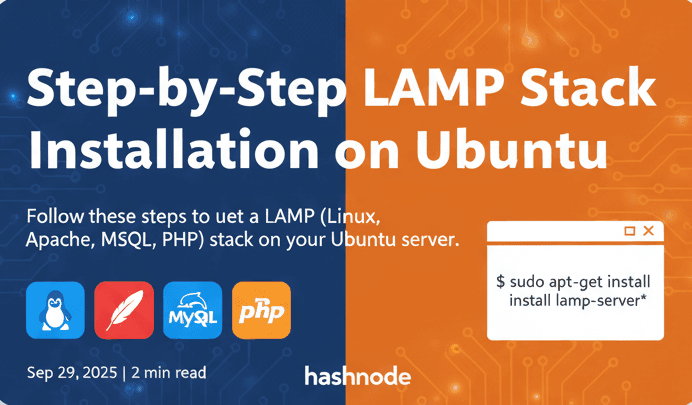
Step-by-Step LAMP Stack Installation on Ubuntu
Hi 👋 I’m Abhinav Prakash - a full-stack dev who loves building with Node.js, React, Next, Astro, MongoDB & Cloud. I share my blogs, learnings, side-projects, and dev journey here 🚀
Follow these steps to set up a LAMP (Linux, Apache, MySQL, PHP) stack on your Ubuntu server. Copy commands directly and get started quickly! 😎
🛠️ Step 1: Update and Upgrade System
sudo apt update && sudo apt upgrade -y
📌 What to Do: Keep your system up to date with this single command.
🌐 Step 2: Install Apache
sudo apt install apache2 -y
📌 What to Do: Install Apache, the web server.
- Check Apache Status:
sudo systemctl status apache2
- Test Apache:
Open your browser and navigate tohttp://your-server-ipto see the Apache default page.
🐬 Step 3: Install MySQL
sudo apt install mysql-server -y
📌 What to Do: Install MySQL for database management.
- Secure MySQL:
sudo mysql_secure_installation
👉 Detailed Guide: MySQL Secure Installation
- Login to MySQL:
sudo mysql
💻 Step 4: Install PHP
sudo apt install php libapache2-mod-php php-mysql -y
📌 What to Do: Install PHP and its modules.
Test PHP:
Create a test file:
sudo nano /var/www/html/info.phpAdd the following code:
  <?php
  phpinfo();
  ?>
Visit
http://your-server-ip/info.phpin your browser to confirm PHP installation.
🛡️ Step 5: Adjust Firewall (Optional)
sudo ufw allow in "Apache Full"
📌 What to Do: Allow Apache through the firewall for proper access.
🔄 Step 6: Enable Modules and Restart Apache
sudo a2enmod rewrite
sudo systemctl restart apache2
📌 What to Do: Enable Apache modules for better functionality.
✅ Step 7: Verify Installation
Apache: Navigate to
http://your-server-ipin your browser.PHP Info: Navigate to
http://your-server-ip/info.phpin your browser.
📊 Optional: Install phpMyAdmin
sudo apt install phpmyadmin -y
📌 What to Do: Install phpMyAdmin to manage MySQL databases via a web interface.
Configure: Follow the installation prompts and integrate it with Apache.
Access: Visit
http://your-server-ip/phpmyadminin your browser.